Warehouse labels are one of the most underappreciated aspects of warehouse management. And look, we get it; they're less exciting than the automation and robotics revolution, with all its fancy drones and remote-controlled lift trucks.
However, despite their simplicity, labels are no less relevant today than in the 1930s when R. Stanton Avery invented them (or the adhesive kind, at least). Warehouse barcode labels can improve productivity, help optimise the flow of goods, and keep your day-to-day operations running smoothly – ultimately boosting your bottom line.
So, whether you're a seasoned warehouse manager or a newcomer to the world of warehouse labelling, we've got some tips and tricks to help you avoid common labelling mistakes that can lead to inefficiencies, picking errors, and increased costs - giving you more time to focus on other aspects of your warehouse operations. Or it might give you extra time to catch up on all our other fantastic blog posts; we're not fussy.
So, let's explore five warehouse labelling errors to avoid! 👇
Mistake 1️⃣: Not having a clear labelling strategy
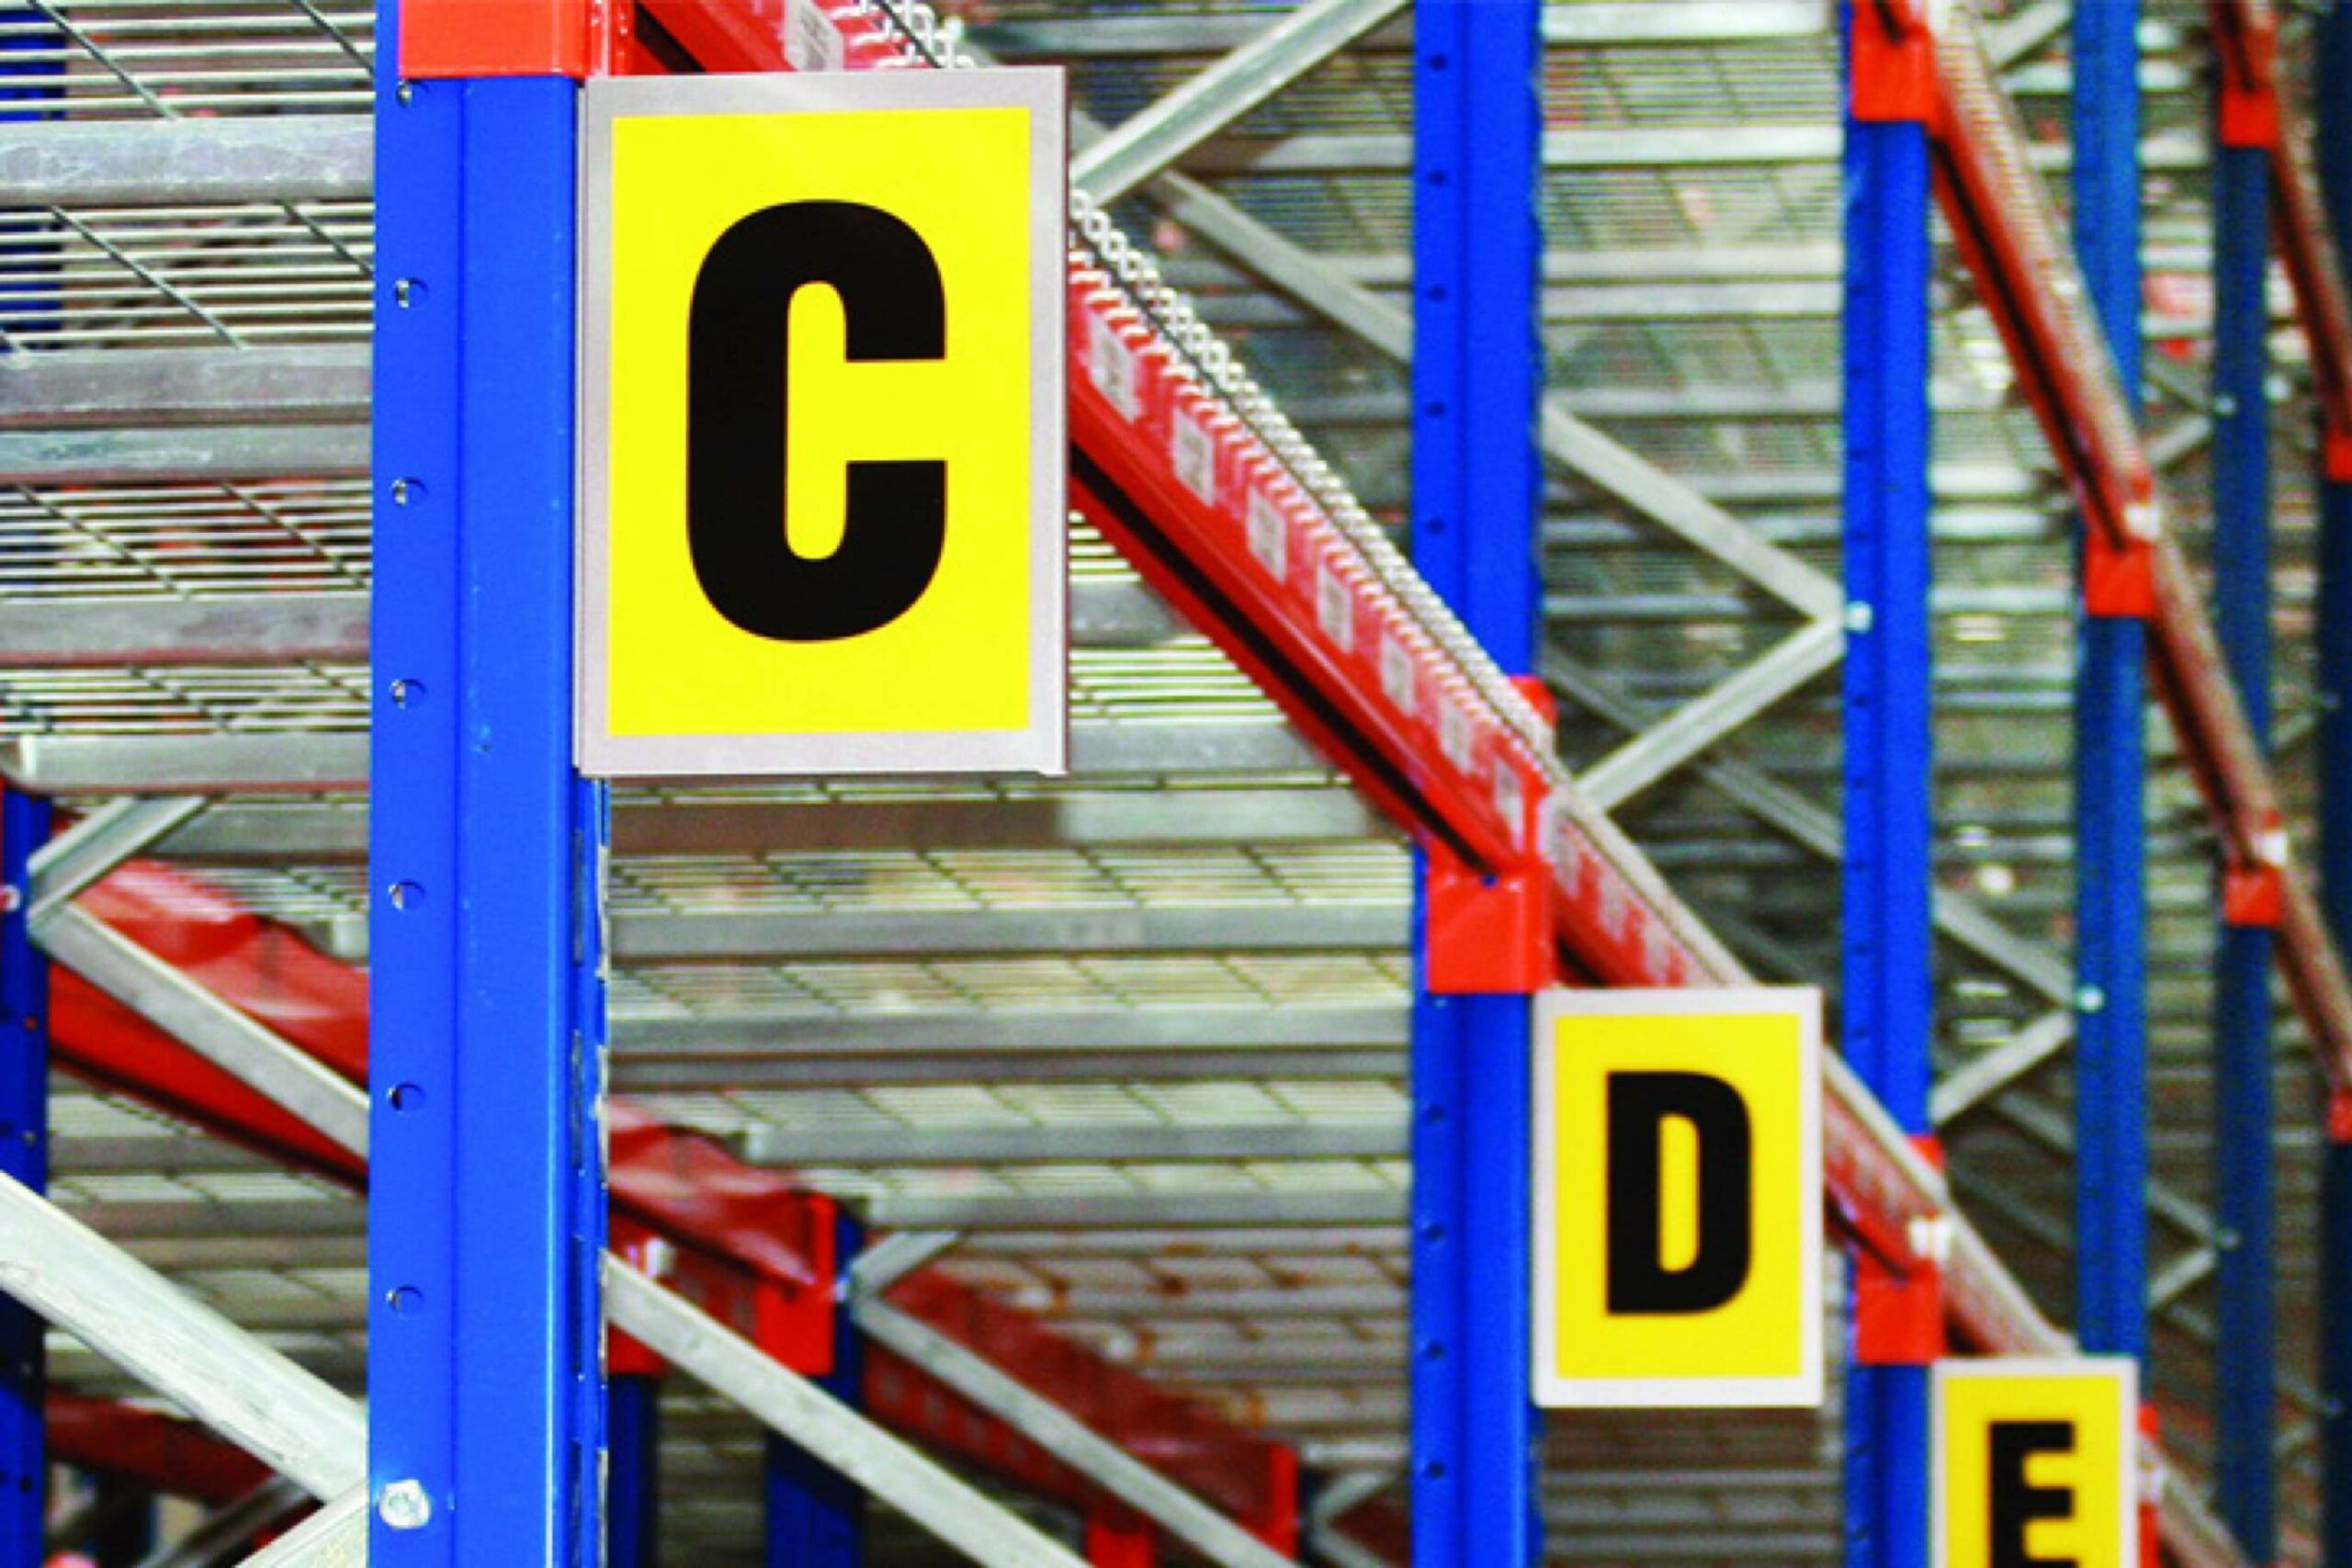
Picture this: a warehouse where employees wander around scratching their heads, searching high and low for products that seem to have disappeared into thin air. Sounds chaotic! Unfortunately, this is the reality for many warehouses that need a clear labelling strategy.
Think of a labelling system as a GPS for your warehouse, guiding employees to the correct location and ensuring picking is a breeze (and, unlike Google Maps, it won't keep sending you down horrible single-track lanes with no warning - huzzah!).
Without a clear label strategy, your warehouse can quickly become a labyrinth of confusion, wasted time, and increased errors - a recipe for disaster.
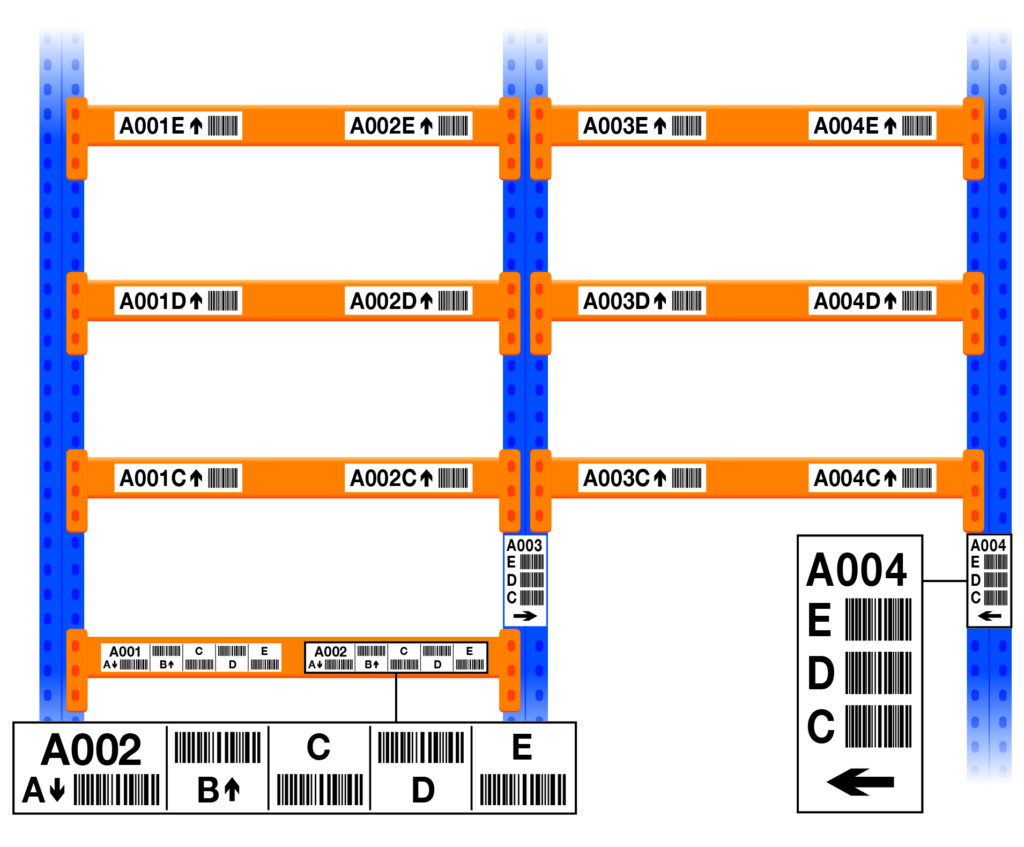
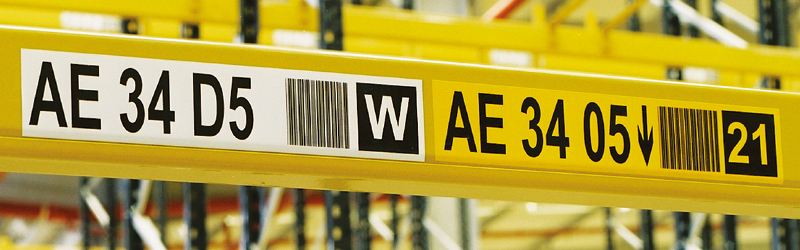
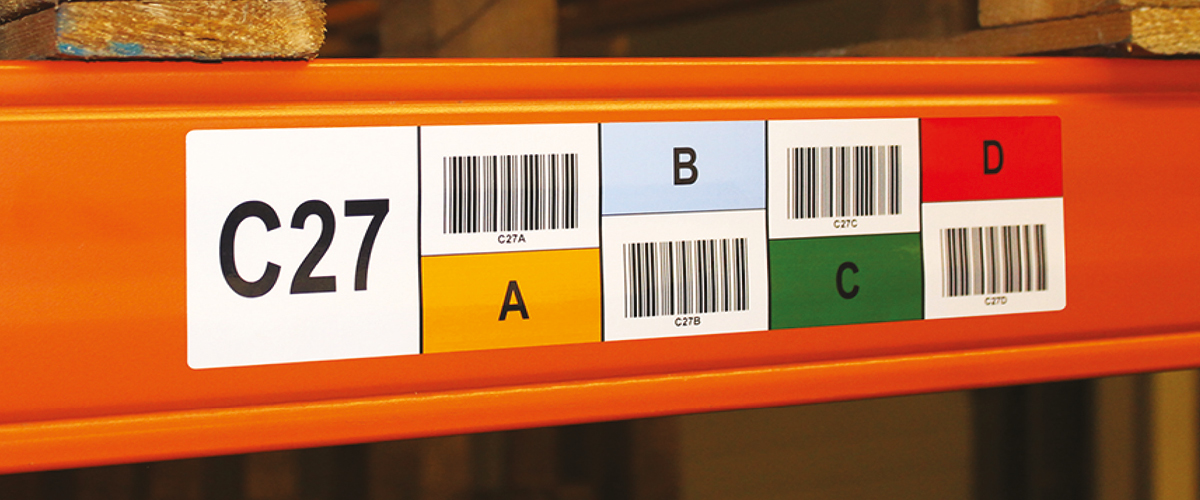
So, don't let your warehouse become a maze of mayhem! Instead, develop a labelling strategy for your unique needs, whether using alphanumeric codes, colour coding, or barcoding. Ensure the labelling system is consistent throughout the warehouse and easy for employees to understand.
Not sure where to begin? Read our Warehouse Labelling System 101: A Beginner's Guide to help you through the process!
Need help with a warehouse labelling strategy?
Contact us for your FREE no-obligation labelling consultation ->
Mistake 2️⃣: Choosing the Wrong Type of Label
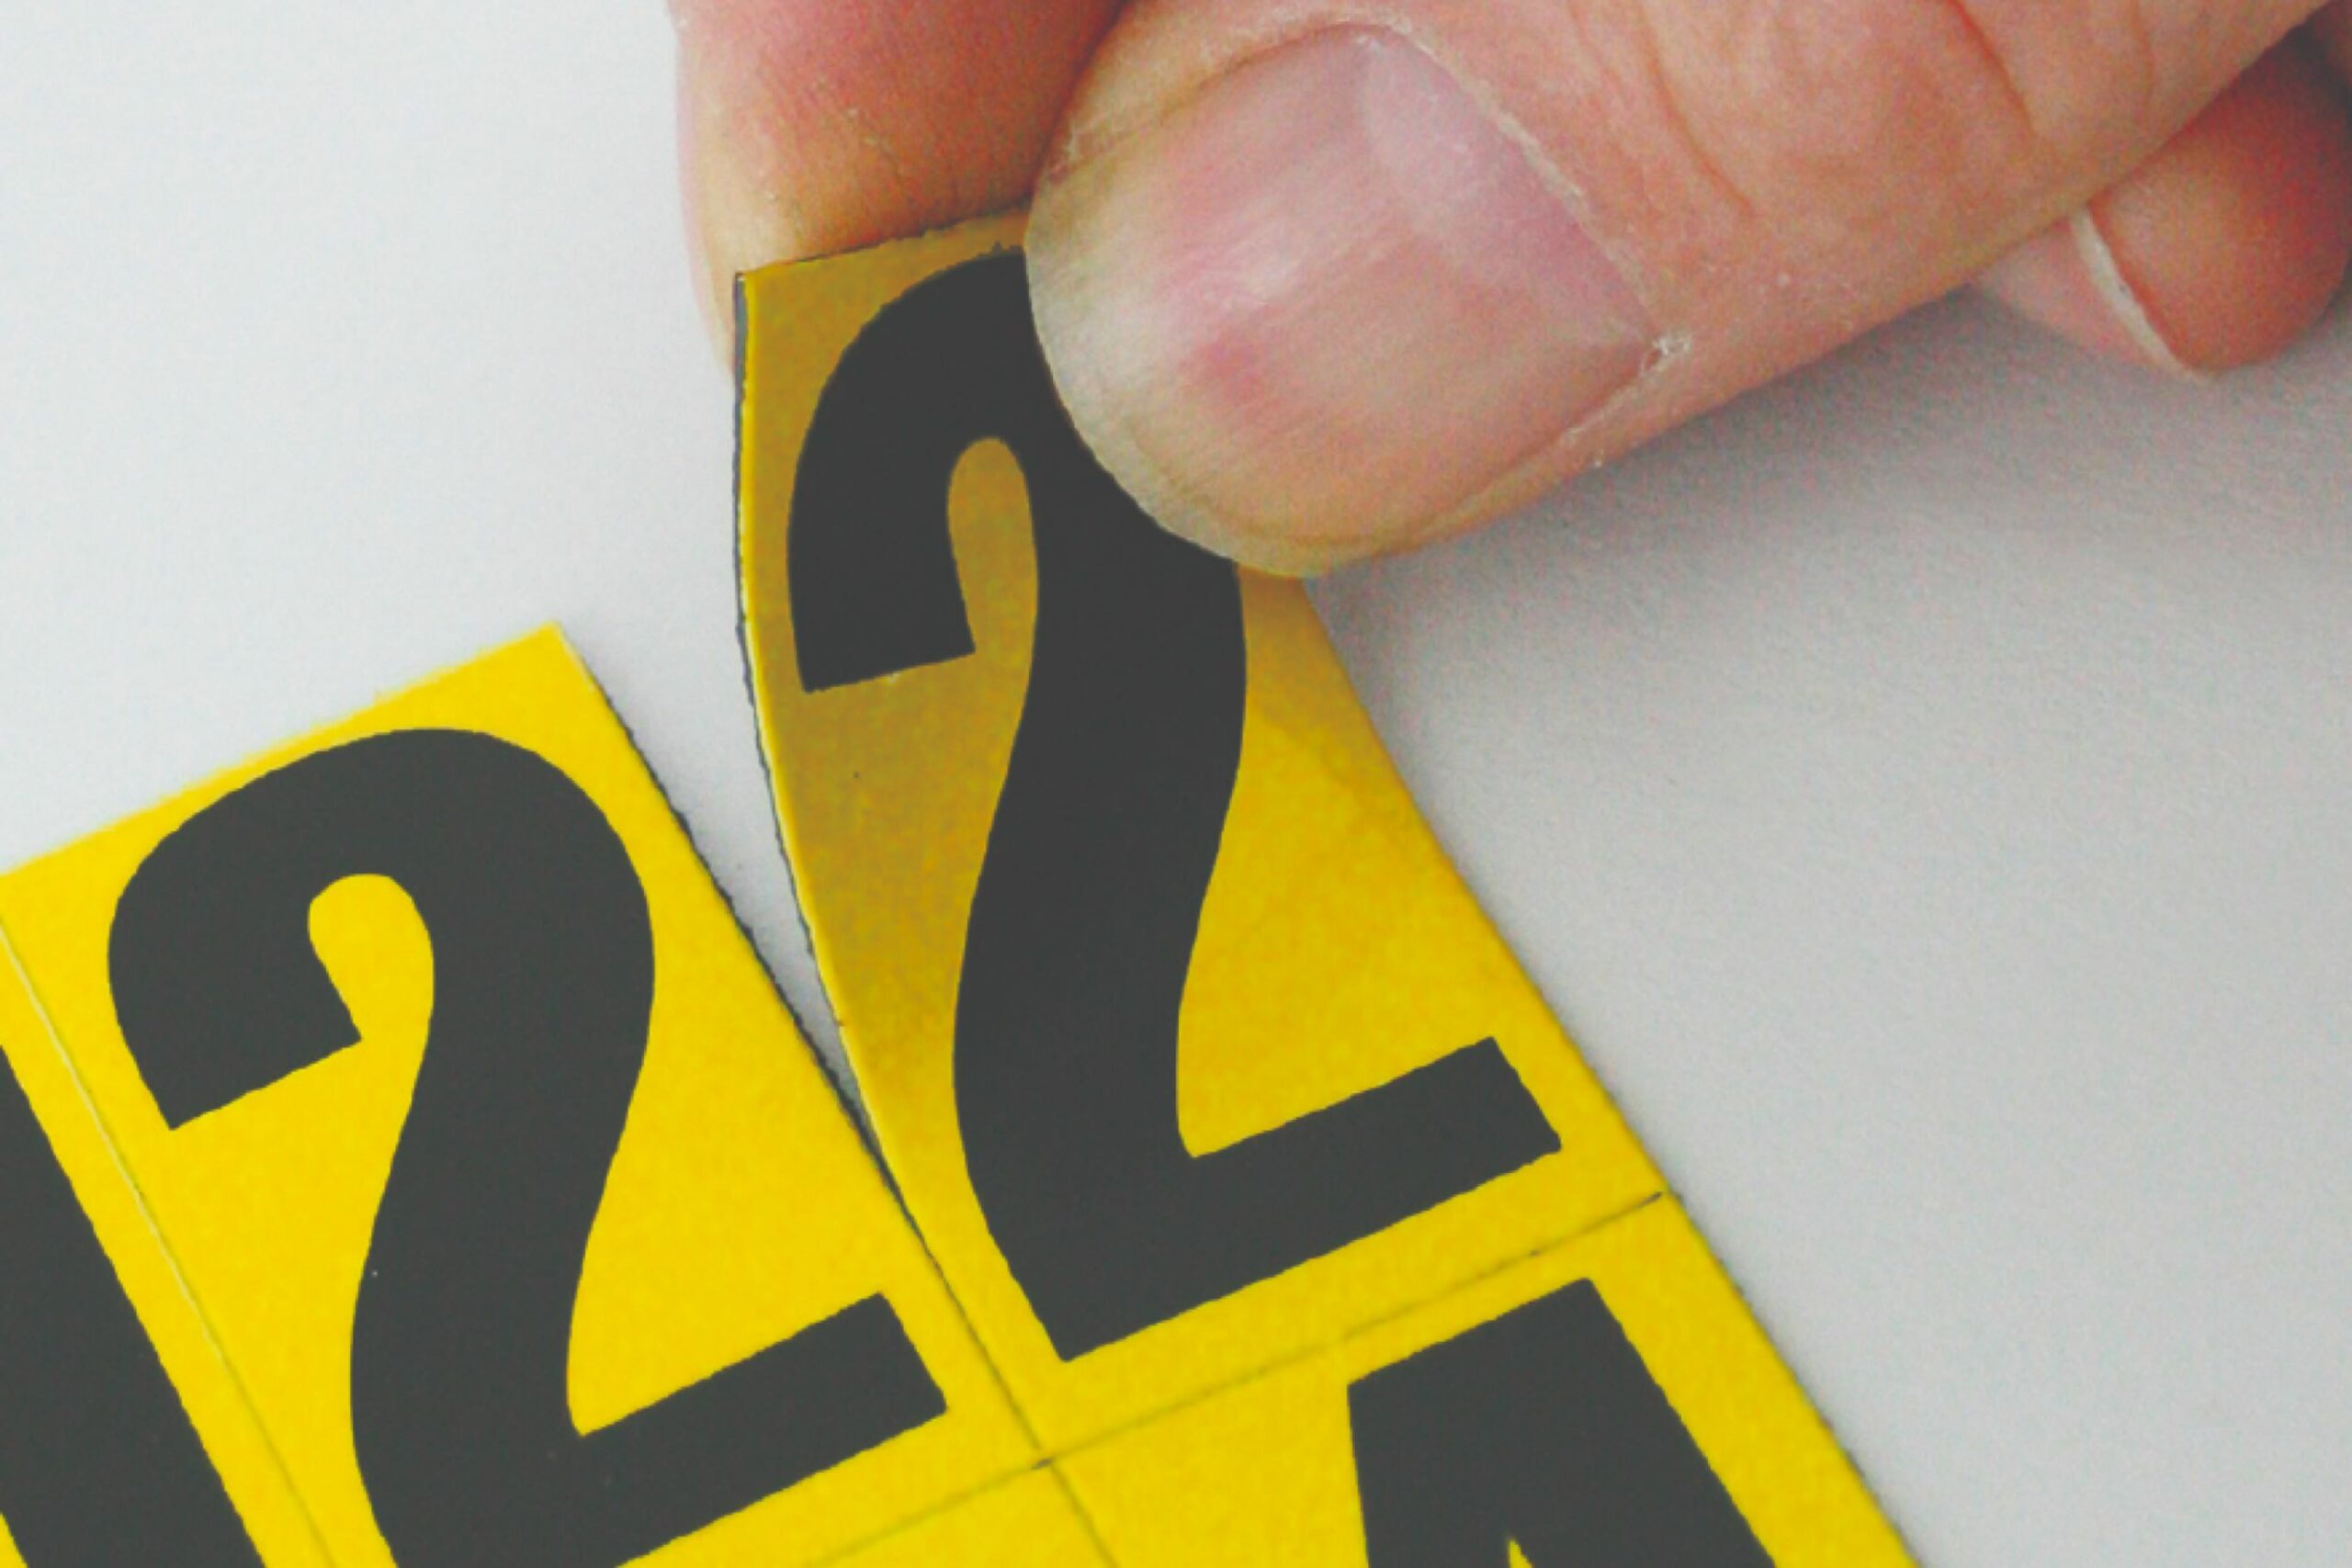
Labelling products and locations in a warehouse seems straightforward. You just peel and stick, right?
But choosing the wrong type of label can cause many issues. For example, poorly printed or illegible labels bring obvious problems, leading to difficulties with barcode scanning and location identification. Or perhaps the labels give up the ghost entirely and fall off due to extreme temperatures (such as cold stores - brrr!).
These problems can prove costly, leading to wasted time and reduced productivity.
To avoid this labelling mistake, it's essential to consider various factors when choosing labels.
- The Environment 🥶 - will the labels be subject to extreme temperatures or moisture? If so, you must choose labels that can withstand these conditions.
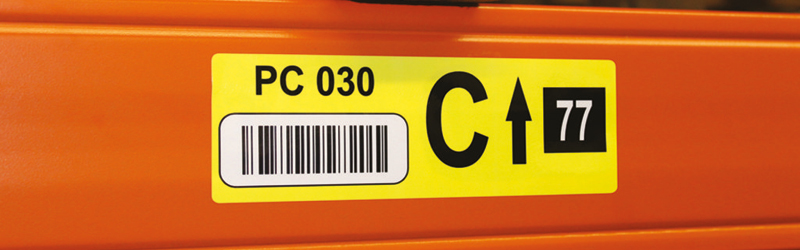
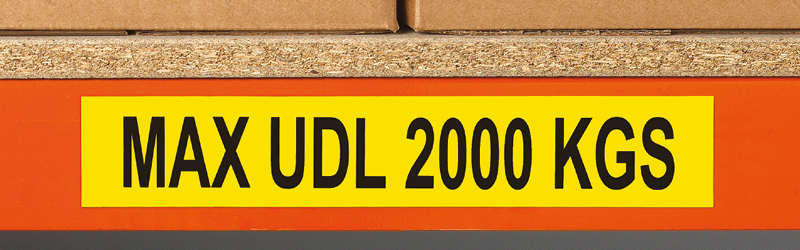
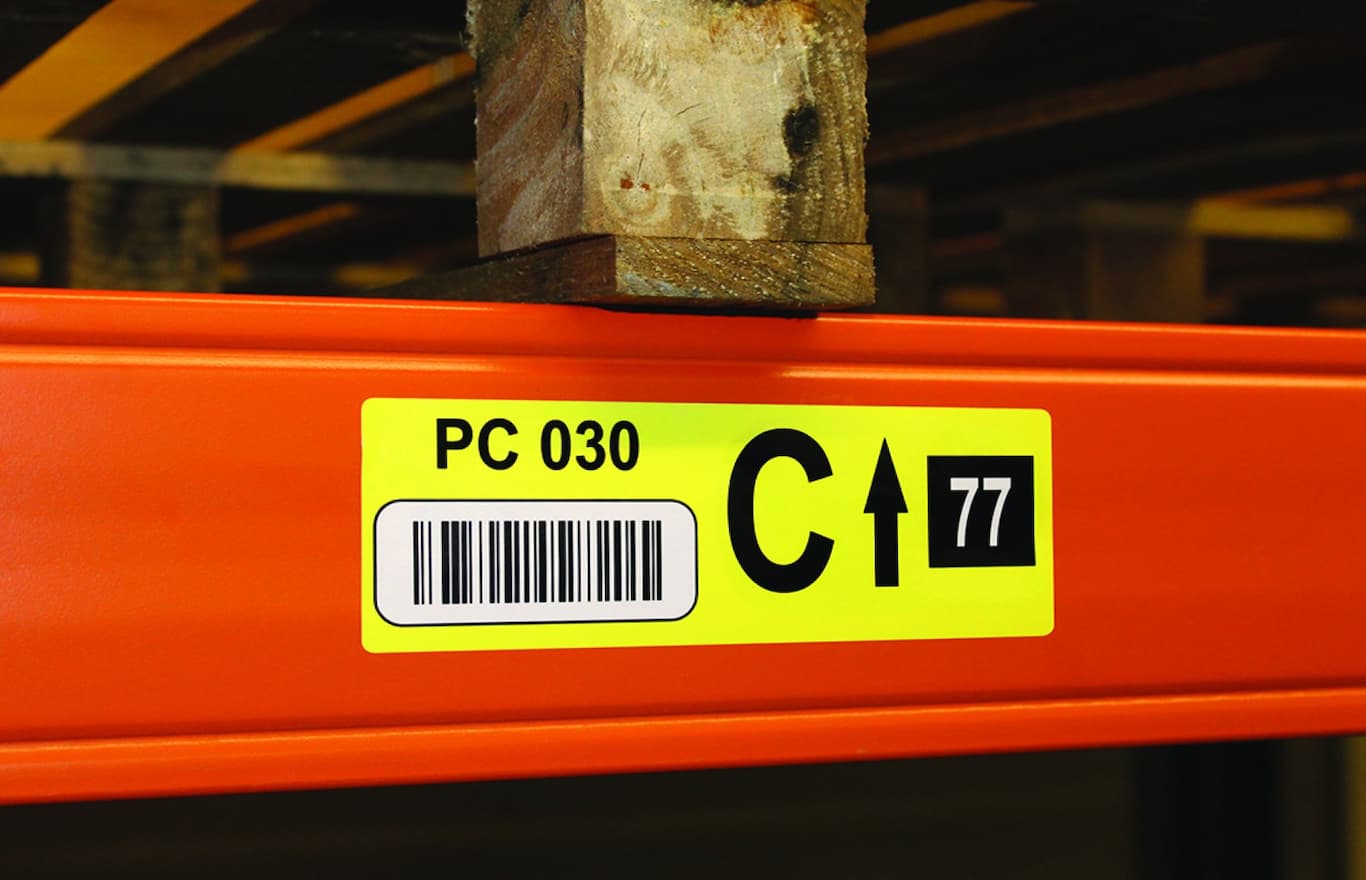
- Readability 👀 - this goes without saying, but labels are useless if you can't read them quickly and accurately. A label's print quality has a massive impact on this, so it's well worth researching a reputable label manufacturer to partner with.
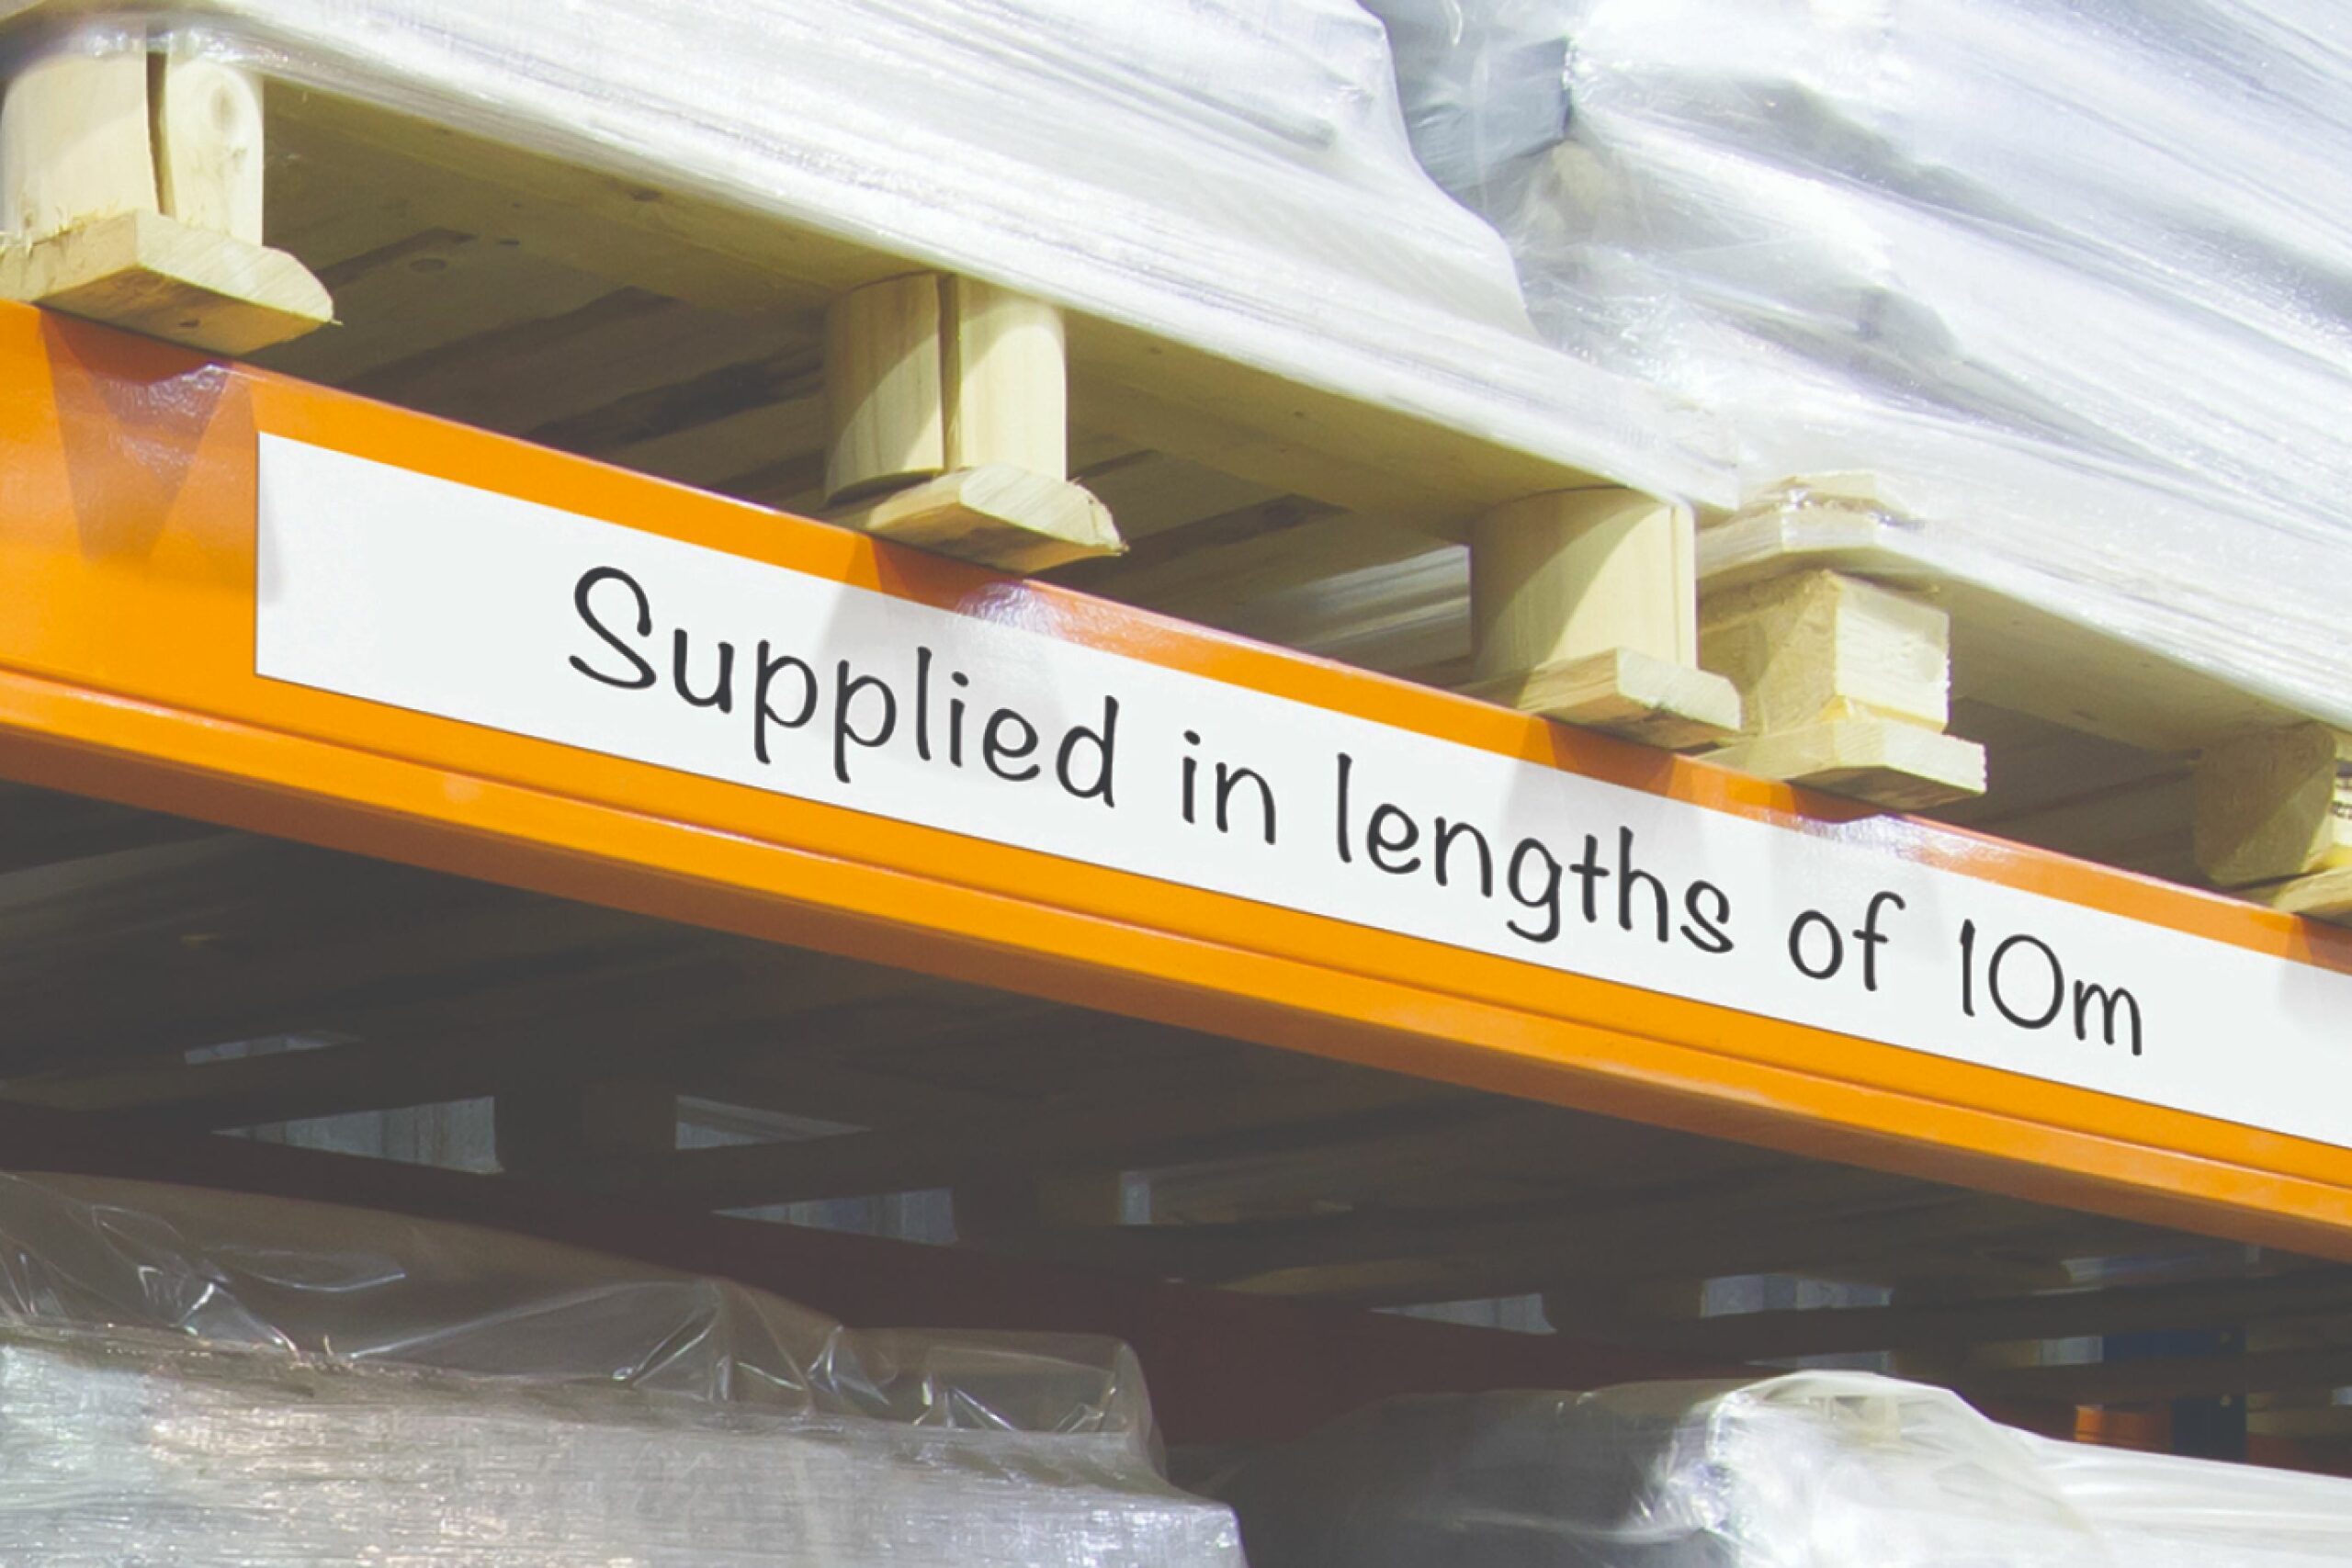
- Size and Format 📏 - teeny tiny labels are challenging to read from a distance, and poorly formatted labels cause confusion and errors. Try to avoid both!
To ensure you choose the right type of label, assess the needs of your warehouse and the products you store. Next, consider the environment where you'll use the labels and choose a type that's easy to read, durable, and fits the needs of your employees. With the correct type of label in place, you can ensure your labelling system supports efficient operations and reduces errors for many years to come!
For more info, you can read about different varieties of labels in our blog post: Writings on the Racking: A Guide on Rack Labels, and Types of Ticket and Label Holders to protect them.
Labels for every occasion!
Contact us for a FREE no-obligation label printing quote ->
Mistake 3️⃣: Messy Label Installation
You can have the best labels in the world (they usually come with the Beaverswood® name, just saying), but they're only as good as their installation.
From labels placed in the wrong location to misaligned or poorly adhered labels, these mistakes can cause you a real headache. For instance, incorrectly placed labels will result in misplaced products, inaccurate inventory counts, and higher error rates, leading to wasted time and increased costs (a nightmare, basically).
The easiest way to avoid messy label installations is to let the experts handle it instead. You might be tempted to get your in-house team to label everything, but we guarantee a DIY installation project won't go smoothly given the following:
- Loss of productivity 📉 - warehouse workers are brilliant but can't be in two places at once. So, if they're labelling your warehouse, that means a labour shortage in other areas such as goods-in, dispatch, or picking and packing.
- Overruns ⏲ - DIY installations often take longer to complete than those done by specialists due to lack of experience.
- Mistakes ❌ - any label printing or placement errors will mean costly reprints and re-installations - taking up more time and labour resources.
- Poor results 👎 - through no fault of their own, in-house workers rarely have the experience to install labels effectively. This leads to labels curling, peeling, and eventually falling off.
Let the labelling installation experts handle it...
Contact us for a FREE no-obligation label installation quote ->
Mistake 4️⃣: Failing to keep labels up-to-date
In the dynamic environment of a warehouse, neglecting to update labels can lead to chaos. Just one out-of-date label could lead to hours of searching and confusion or, worse still, the wrong goods being picked and shipped!
One way to avoid this mistake is to establish a regular labelling review process. This can be as easy as walking around your warehouse to identify labels that need to be updated or replaced.
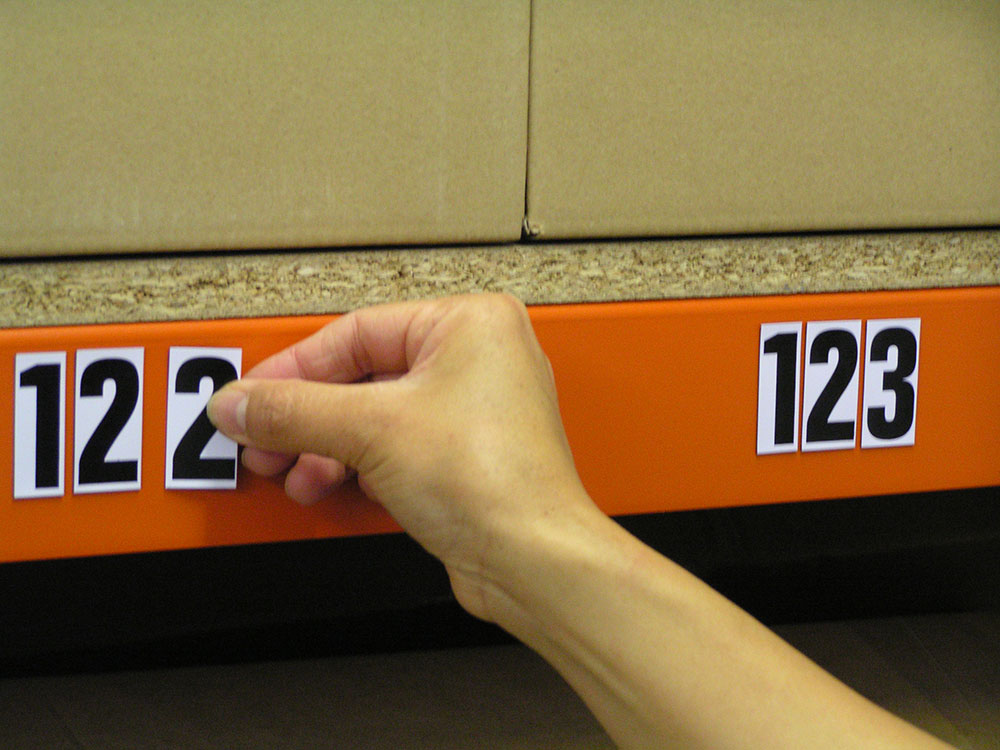
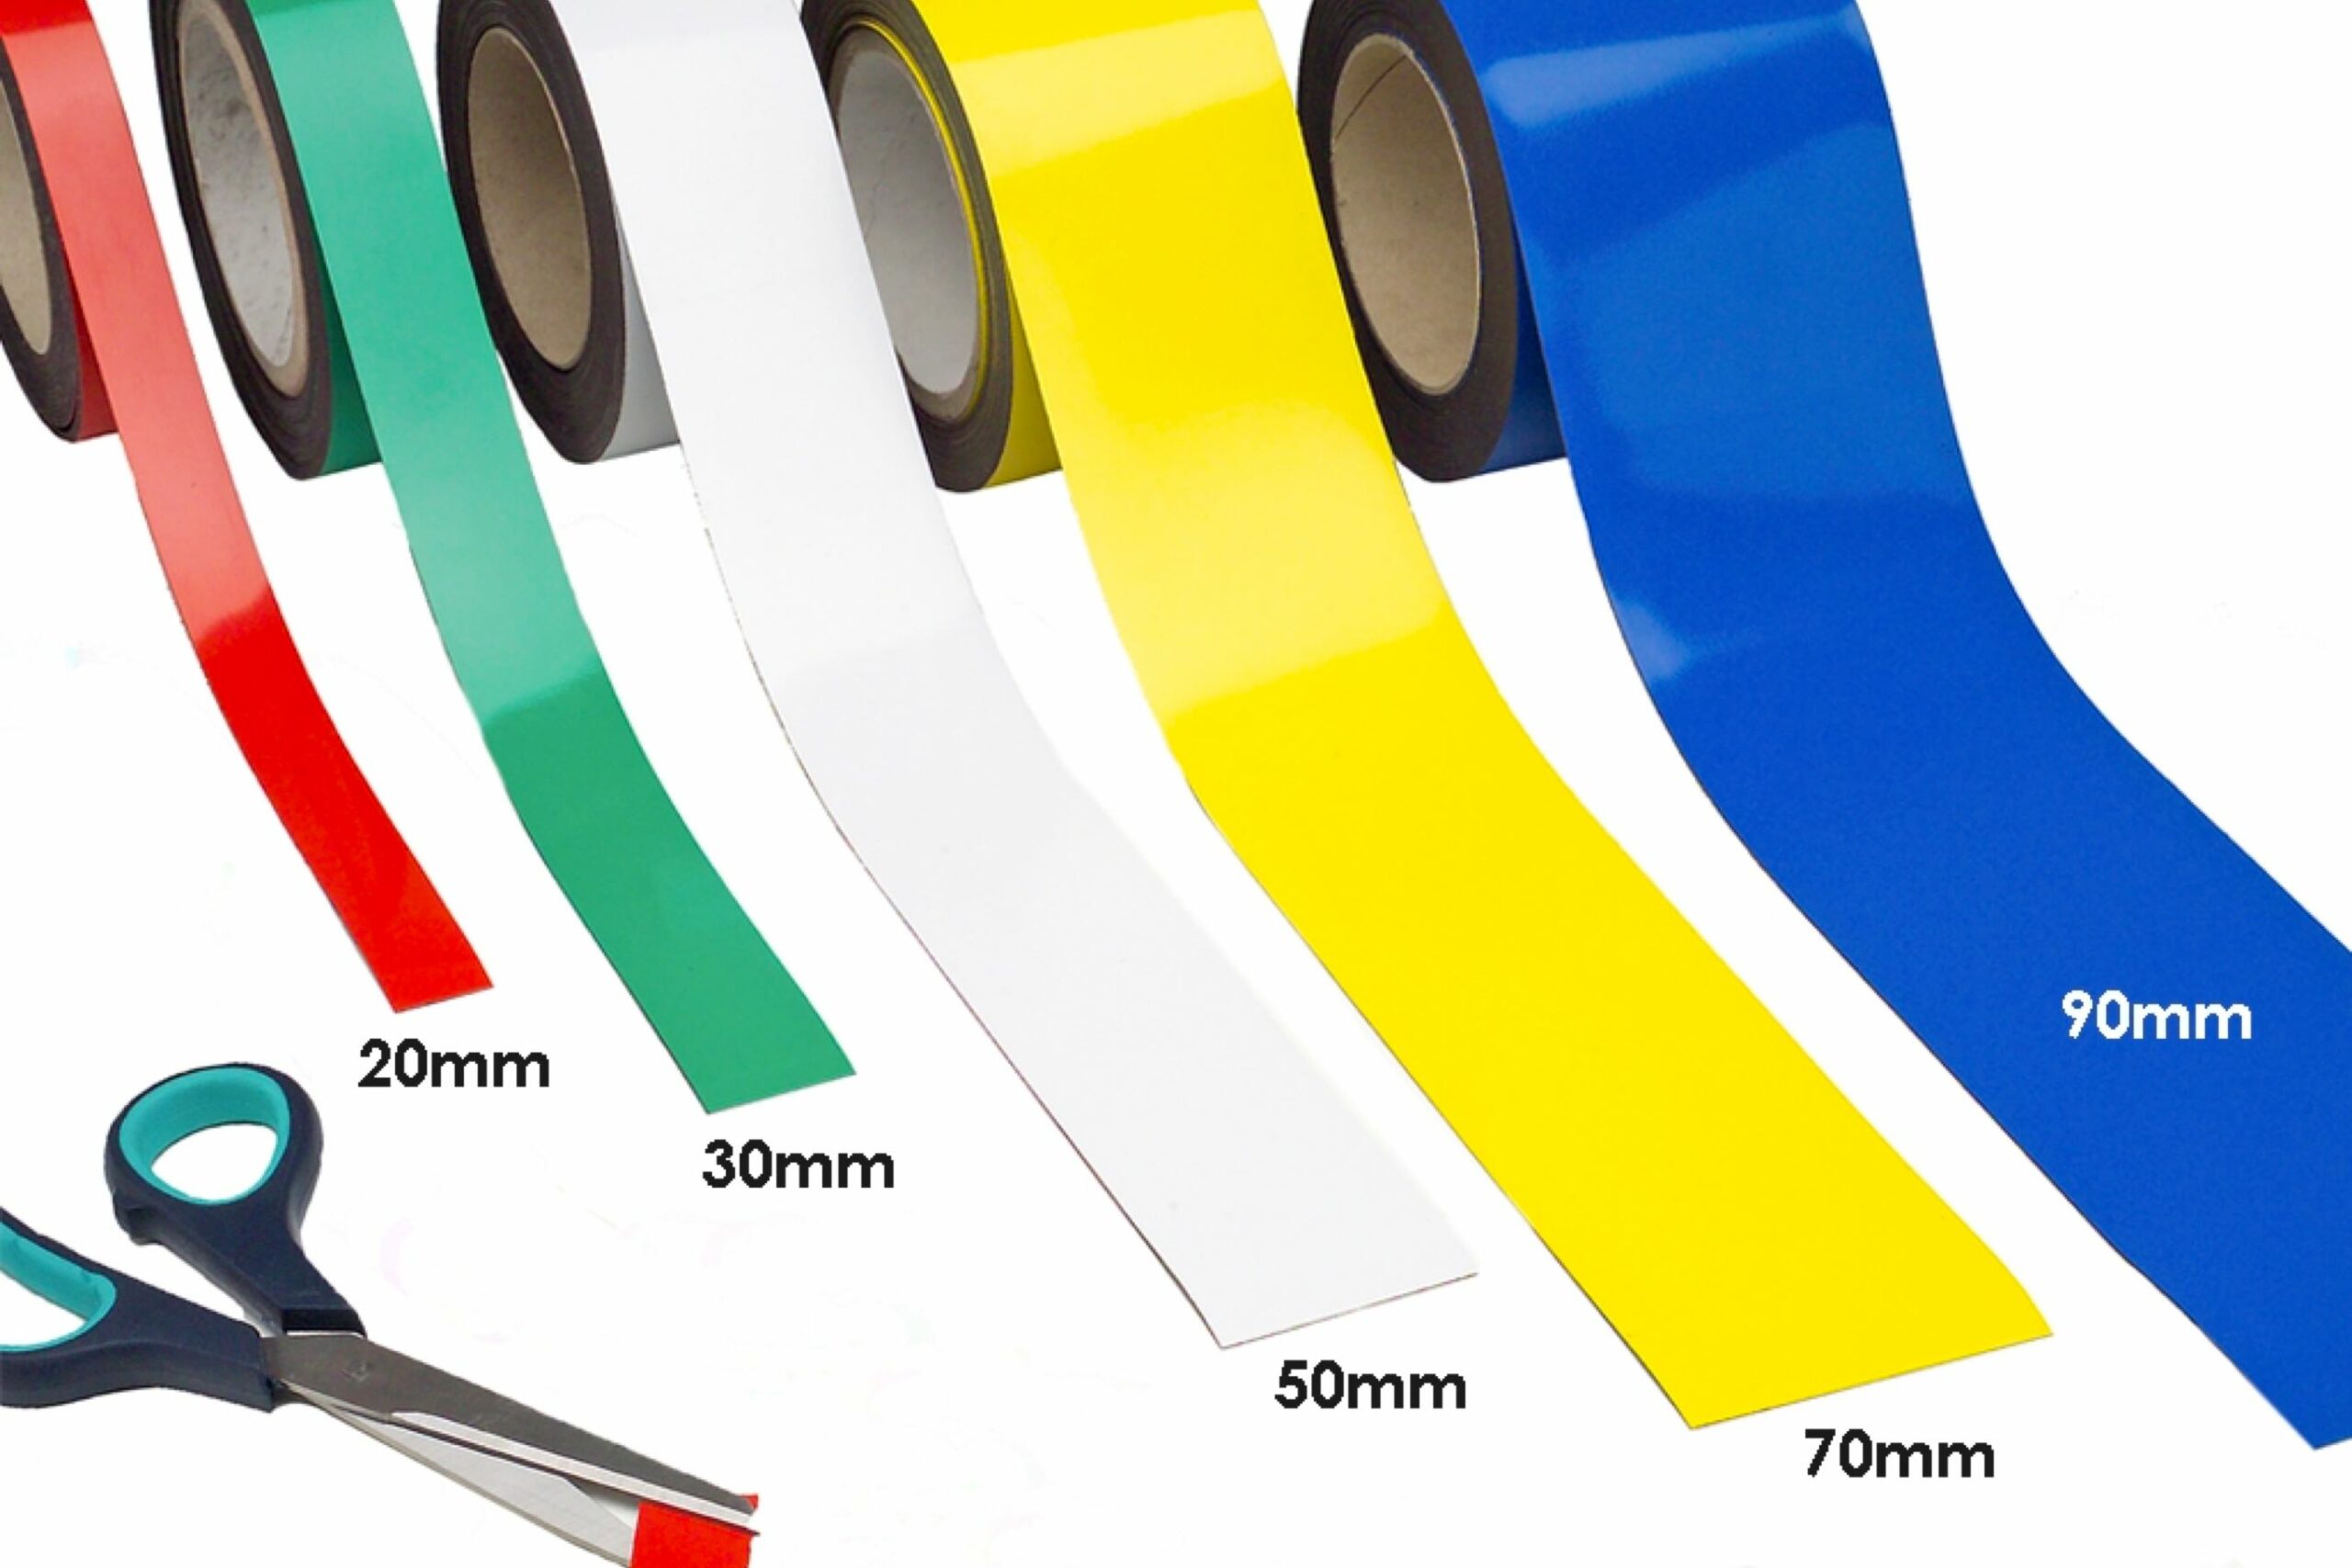
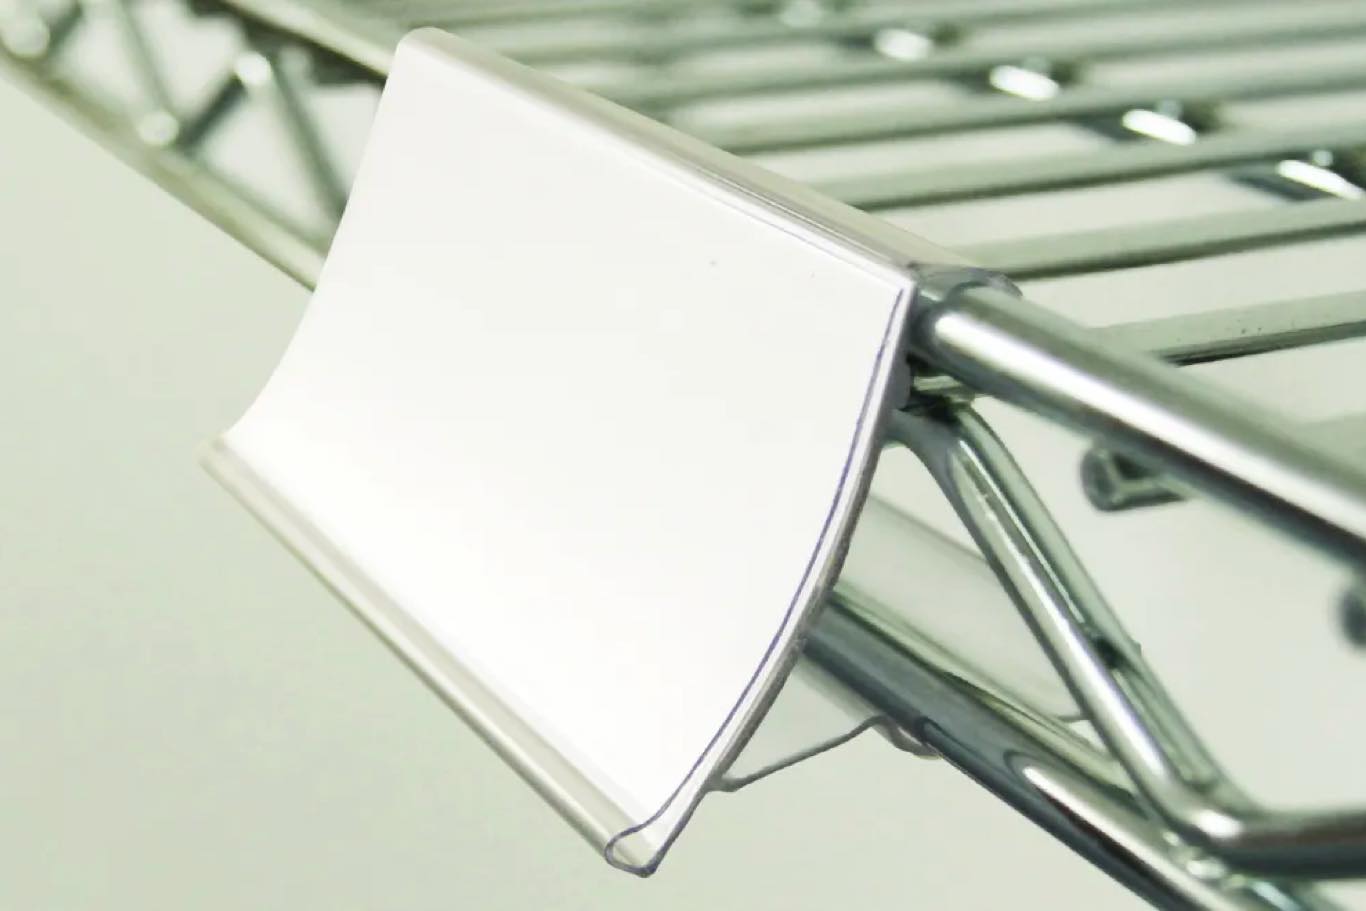
Another effective strategy is using a labelling system that allows easy updates. For example, you might use magnetic easy wipe racking strips, which you can update and relocate on the fly - all you need is a wet wipe marker pen to amend the label information. You could also use magnetic-backed ticket holders or label holders, which allow you to lift and relocate labels as necessary. Additionally, barcode systems that can be updated through software help ensure that product codes remain accurate and up to date.
By keeping labels up-to-date, you can maintain smooth operations, save time, and reduce costs.

Mistake 5️⃣: Neglecting to train employees on the labelling system
After going through all the effort of installing a great warehouse labelling system, you want to ensure it's successful. And this will only happen if your employees understand how to read and use the labels correctly.
That's where training comes in! It doesn't have to be anything too flashy or spectacular, but employees should be trained on:
- How to use any labelling software
- The layout of the label coding system
- The information included on each label, such as: product information, location information, and safety information.
- Guidelines for updating and maintaining labels (Don't forget to read our Tips for Maintaining Your Warehouse Labelling System)
Such training can include sessions with experienced employees, interactive video tutorials, or engaging online training modules. Plus, providing written guidelines for using the labelling system can help employees reference and reinforce their understanding. Regular reviews should back all of this up.
By properly training employees on your labelling system, you can ensure the system is used efficiently, effectively, and accurately. Ultimately, this will reduce errors, increase productivity, and support efficient warehouse operations - nice!
Conclusion
Labelling might not be as jazzy and exciting as AI or robots, but it's no less important. In fact, it can be the difference between a well-oiled machine and a complete disaster area.
So remember, a well-executed labelling strategy includes:
- Choosing the right type of label
- Ensuring proper installation
- Updating labels regularly
- Training your employees to be label experts
By avoiding the common labelling mistakes highlighted in this article, you'll save time and money and improve accuracy in inventory counts, which can significantly impact your bottom line.
So, take the time to review your labelling system regularly and take action to address any issues. Then, with a little effort, you'll have a labelling system that supports your warehouse operations effectively and efficiently.
Thanks for reading, and we wish you all the best in your labelling endeavours!